
Feel free to advance any critique, as all the images included in this article are taken by me. Only two are not, and the author is cited.
It’s been more than two years since I first decided to only shoot film [ITA], and things are yet to be completely mastered. On my way to pursue a personal creative style, I started developing film in bigger batches, and on a steadier routine. I experimented with more developers (i.e. HC-110) – and more will come (i.e. Caffenol C-H) – while I moved to another home. Until the day one thing came: a Durst M605.
A friend of mine lent me an old enlarger that was sitting in a corner of her country house. It was well kept – and more than well accepted – but scrap: there were no lenses, no filter cassettes and the easel was missing. Yet we cleaned it and purchased all the missing parts, and by the end of last July it was up and running.

Having no actual place where to place it at first, I had to move it around every once I wanted to get some prints done – although having both the enlarger and the trays on the floor did not really put my back at ease.
In the end, I managed to reinforce an existing shelf and placed it there. Then, I purchased everything necessary to build a foldable-table set-up where to put the trays during the process.

I decided to stick to Ilford Multigrade IV RC De Luxe Pearl paper, as it was my usual choice when I used to get my pictures printed in studio. I discovered myself being drawn the most to high contrast filters (e.g. 2.5 Ilford Multigrade filter) and trying to always black-out dark areas of the pictures, while balancing those with spotless white elements. I tend to refrain from having majorly grey parts in my pictures – consciously losing latitude in the final image.

I also started printing in formats other than the 24×30 (cm) ratio I sticked to, at first. I find that having more control on the technical process also gives me a better comprehension of what are the many limits and the few qualities of my creative process.
I therefore print pictures I either find compelling when trying to build up a project, or family pictures that are nothing other than silly: they both are very useful when experimenting with new techniques.

Although both the photography market and industry are moving towards all-digital mediums – or that’s at least their objective (i.e. Fujifilm discontinuing film products every 6 months) – I stand among the many that make a point about film photography not being better than digital, but just a different medium.
Wherein digital pictures are taken by pixels that read dark parts of the picture well, film is hard to get overexposed, yet easier to underexpose. And similar comparisons can be made regarding color rendition and image quality: none is better than the other; each have its own aesthetics.


One has to consider that people nowadays watch pictures from a screen – from the moment the picture is taken, to that when the final image is published somewhere. Film photography might therefore seem less practical and effective as a medium: it isn’t immediate and film scans are not as fascinating as some digital pictures can be. But film scans should not be the final step of the process.
The above picture shows the comparison between an un-edited film scan and the scan of a film print: despite the fact that the first is low-quality and the latter is high-quality, the dynamic range is not affected. Film scans can give a way better dynamic range than that which could ever be achieved in a dark room, but tone rendition is different in a print


The whole feeling is more dramatic – or at least that’s how I get moved by analog photography. Even the chance to just fumble with minor details without having to resort to Photoshop – an amazing tool which I respect and used a lot – but just dodge & burn-ing the picture in a less fine – yet more consistent – way, sure provides an actual experience.
The above picture [shot by Giuditta Fullone] is an example of two prints of the same exact film frame and printing set-up: the only difference is that the upper part of the picture was burnt after the starting exposition . Result is that the upper part is darker and details where recovered. Nothing fancy – and the same operation could be done with a software – but doing it manually gives a better handle to the entire process. I would suggest it to anyone learing about the basics of photography.

I want to emphasise what I already claimed: I do not believe there is an upper hand between film and digital photography – as there even wouldn’t be with xerography, or with tintype. They are different mediums and each of them have different pros &cons.
Film allows to recover completely blown out (i.e. over-exposed) pictures as the one above: it was so light that no details could be seen on film (i.e. being it negative film, the frame was very very dark, as being exposed to too much light). A 50″ exposure (i.e. usual printing exposure times are around 4″ to 10″) made the trick and the image – although being contrasty by default at these conditions – is clear.

This wasn’t my first experience in a dark-room: Jacopo Anti, a photograper and printer, gave me few lessons back in 2014-2015. I then tried at a darkroom rental, but soon understood that I wanted to have complete control over all the equipment – in order to keep the same high standards I encountered while learning how to print.
Clean and fully-operational gear allow you to have a final image that reflects your own vision. Therefore, it allows you to define one: I chose high-contrast monochrome images, as it fits the aesthetics of the world I remember afterwards, more than that of the world I see when shooting.

As much as analog photography requires time to get from the shutter click to a final print, I believe that images need incubation: a period of time in which our mind makes them part of its own, other than something we saw outside ourselves.
The resonance between those two lenghty processes hooked me: since I needed time to develop and print, I would have had time to refine, make selections and train. I’m not further mid-point in my path to excelling photography, and every stimulus guides my one step forward.

First came sticking to one framing-ratio: I am fond of wide lenses in street photography. It’s been 4 years since I first started only shooting with a 21mm lens (i.e. Nikon FM2) – and then a 15mm one for a while (i.e. Konica Hexar RF).
The stretched perspective and the need to get close to the subject can be tricky most of the times, but reflect the way I believe the world is perceived: despite the focus of one’s eyesight being a rather small spot, there’s always a general perception of the surrounding. Wide lenses replicate such feeling.

High-contrast prints followed: the incidence of light in a picture is different of that perceived in the present moment. Eyes adapt to make the situation always as much balanced and lit as possible, while the camera records the moment as it was. Therefore, the picture – and the memory shaped by it – will be different from the first impression had.
The darkroom is the place where the picture deserves to be modelled by the photographer. Contrast and dark areas are my visuals of choice – although some pictures come out too dark, sometimes (e.g. see above).

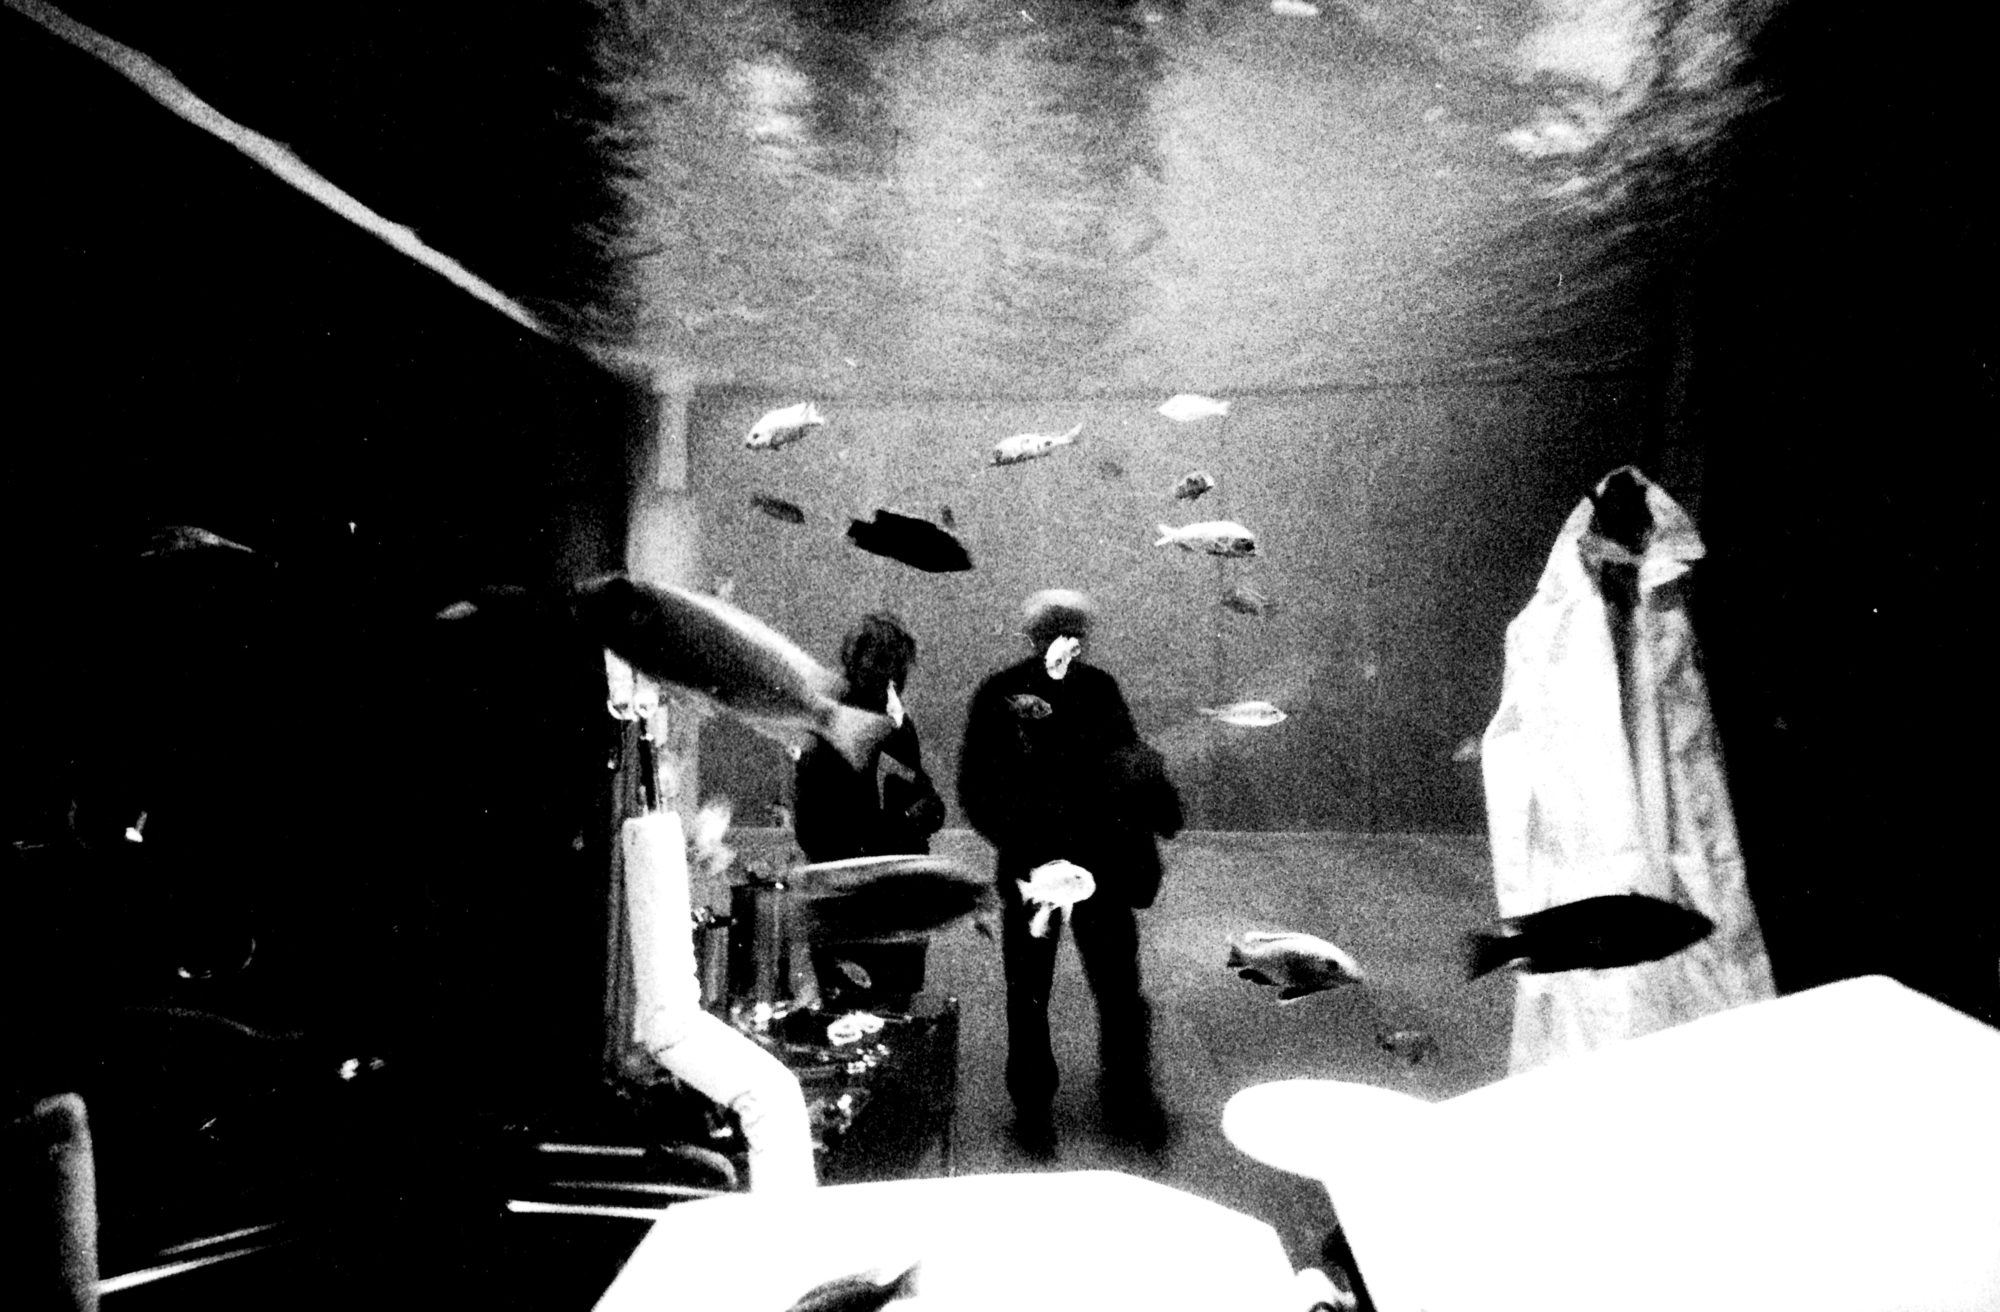
Getting so deep into knowing myself, brings me closer to the people I photograph – and viceversa. They are my (first and) foremost subject. Random people around the street, that interact with each other, or instead ignore everything revolving around them.
Most people don’t like being photographed – for some reason I cannot understand, but try to respect anyway. Nonetheless, many others don’t care, or their privacy can anyway be protected. I don’t want to tell the story of some single individual, but that of human reactions and intereactions.

That’s why I try to always have my camera with me, at least when not heading to and back from the office. One never knows when a situation could be interesting, and when such a captured moment can give birth to a good photograph.
Even though the efficiency of the second step can be improved with skill-training and repetition, the chance to encounter photo-worthy moments is up just to luck. Let’s help it with some discipline.

Anything could happen in everyday life, and such moments sure are the most meaningful for the photographer: despite being photography an art mostly meant to elicit an emotional reaction in the viewer, it is mediated by the author, when shot and when edited/printed.
As much as it can be noticeable that hints of a certain trend in my prints are related to my personal taste for high-contrast, gritty pictures, I still have much to go. That’s no real personal style yet, but can’t be denied to be considered a step towards at least grasping a higher consciousness in the matter of what I want to tell with my pictures – to the viewers and to myself, about myself.
Thanks to Giuditta Fullone and Giovanella Valerie Leblovic-Lobkowicz for reviewing this article.
All the images included in this article were shot on Ilford HP5 (pushed @1600) film in either a Konica Hexar RF or a Nikon FM2 (15mm/21mm lenses) home-developed in 1+0 ID-11, home-printed and then scanned.
this is great text!
Thanks! I really appreciate it – especially from you.